Cart empty
Blog
DIY Caliper Painting – Freshen Up Those Tired Brakes
In:
Blog
Hits: 319
Brake calipers are easy to overlook, but once they become faded, rusty or heavily stained, they can make the whole wheel area look tired.
This is particularly noticeable on HSVs and other performance cars with large, open-style wheels. The bodywork may still present well and the wheels may be clean, but dull-looking calipers sitting behind them can let the overall appearance down.
Freshening up the calipers can make a surprisingly big difference and is a realistic weekend project for members who enjoy working on their own cars. The actual painting is only a small part of the job. The best results come from having the correct supplies, cleaning everything properly and protecting the vehicle and workshop from overspray.
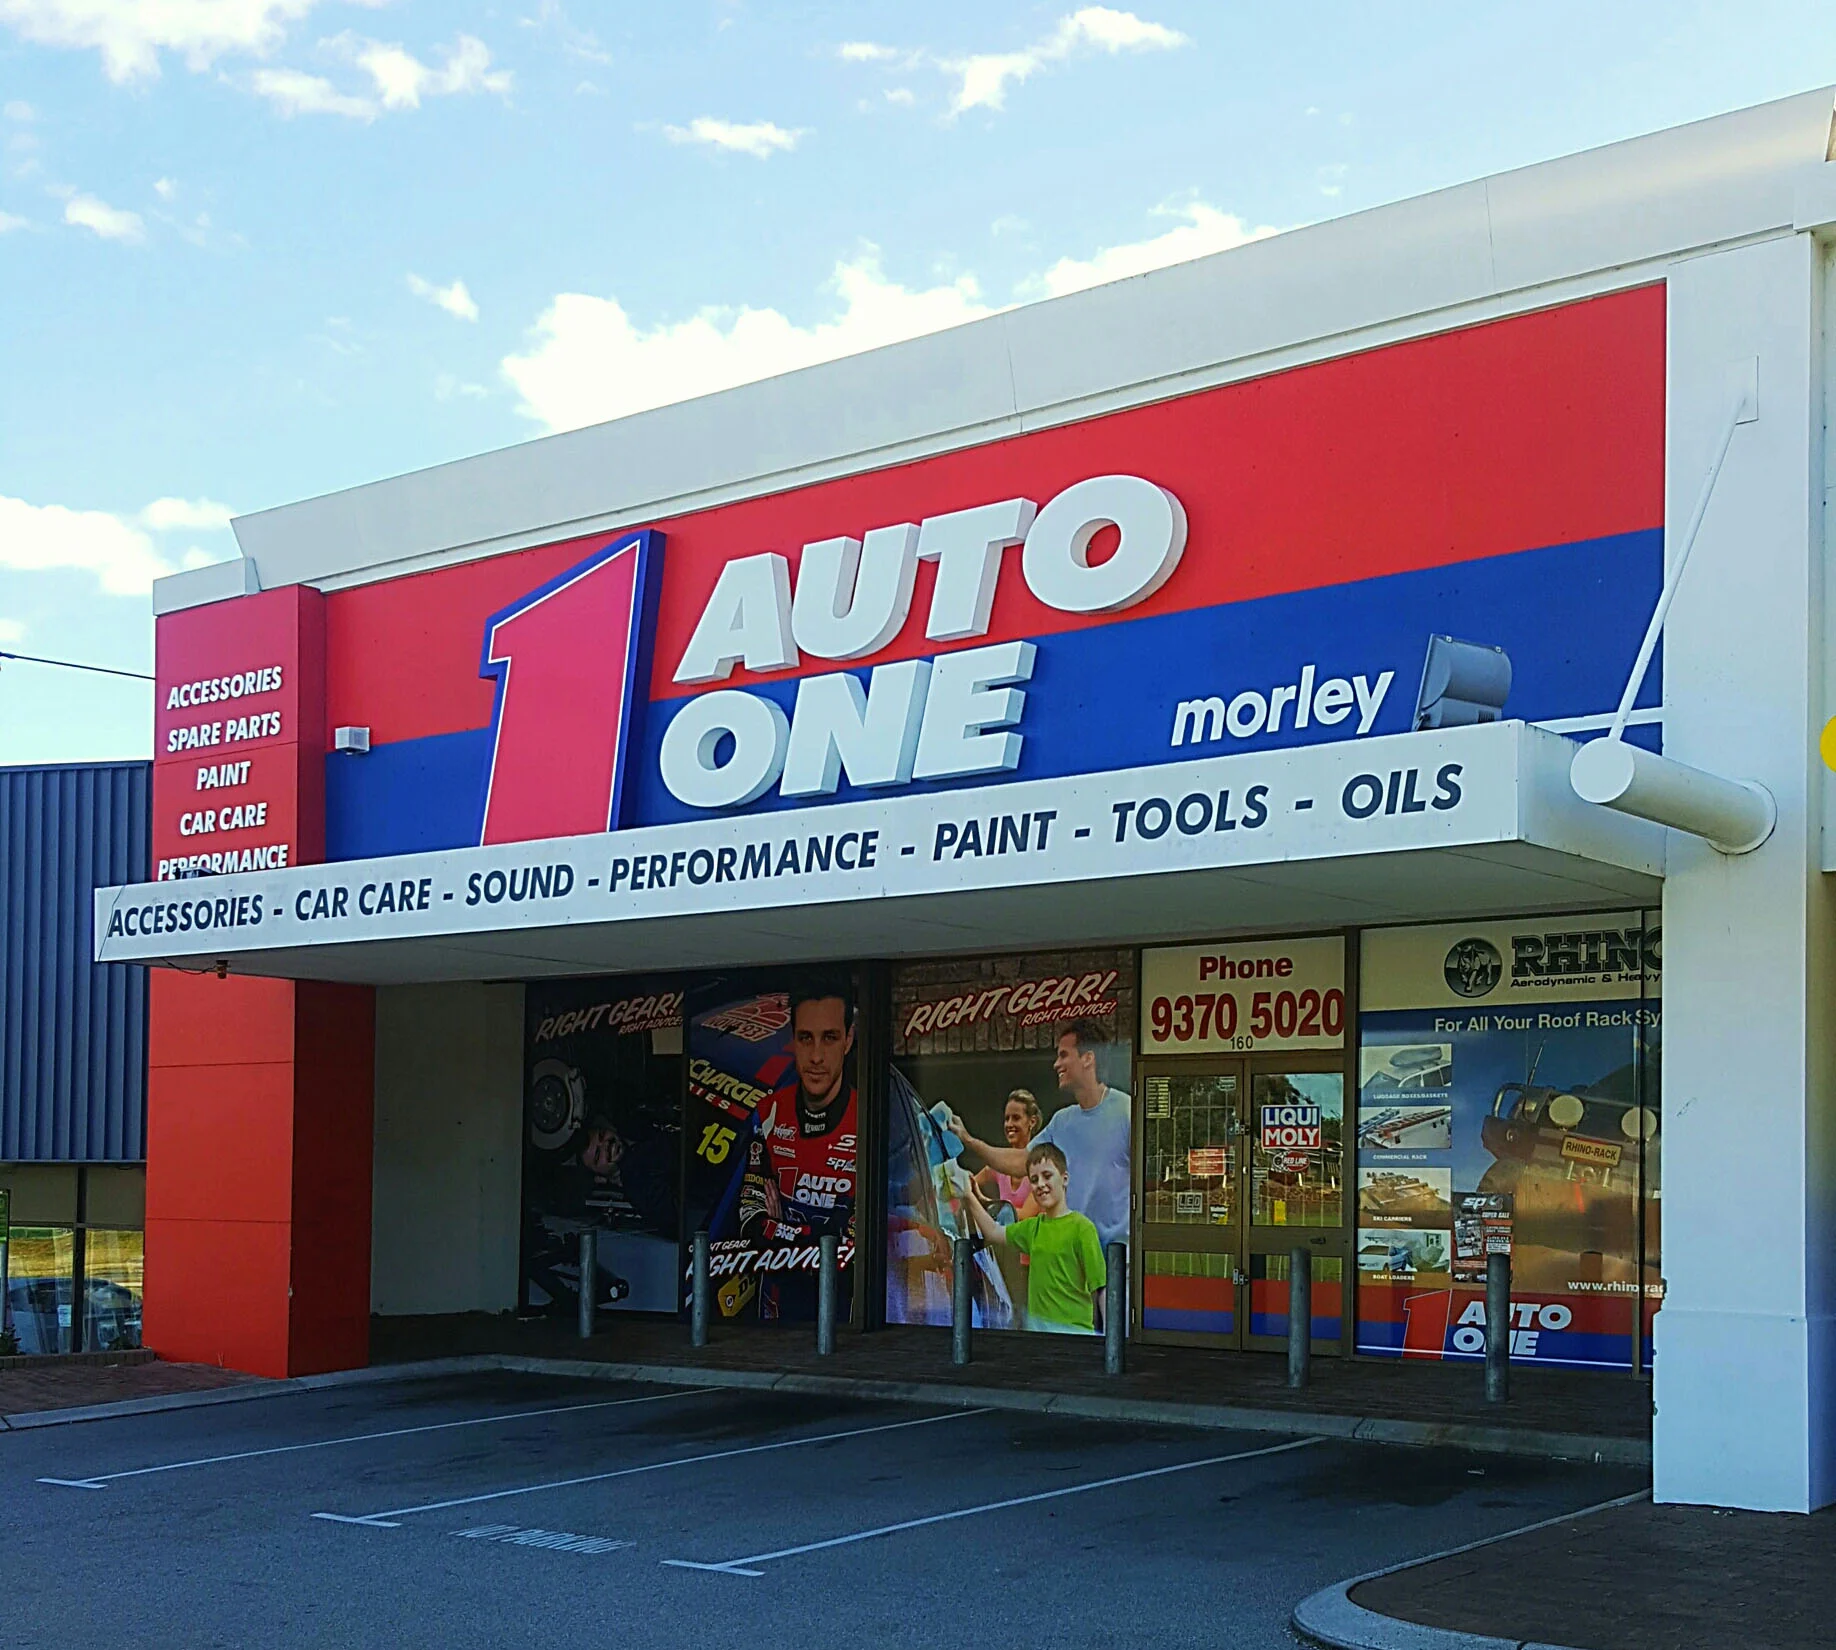
Club sponsor Auto One Morley is a good place to collect the paint, cleaners, masking materials and other supplies before getting started.
Prepare Before the Car Goes on Stands
This is not a job to begin with one can of paint and a small roll of masking tape.
Once the wheels are removed and the car is supported on stands, you do not want to discover that you have run out of cleaner, plastic or tape. Collecting everything beforehand makes the job easier and prevents the car from being left apart while you make another trip to the shops.
A sensible shopping list includes:
- High-temperature caliper paint
- Heavy-duty cleaner or degreaser
- Brake cleaner
- Suitable thinners
- Plenty of clean rags
- Sandpaper in a few suitable grades
- Heavy-duty scourers or abrasive pads
- A small wire brush
- Disposable gloves
- Plastic drop sheets for the floor
- Enough plastic sheeting to cover the entire car
- Two rolls of 44 mm masking tape
- One roll of 24 mm masking tape
- Additional cardboard or plastic for shielding surrounding parts
Buying enough at the beginning is far cheaper than cleaning overspray from the car or workshop later.
The team at Auto One Morley can help select a suitable caliper paint and the cleaning and preparation products needed for the job.
Protect the Floor
Before cleaning or painting anything, cover the workshop floor with a large plastic drop sheet.
Overspray does not simply fall directly below the caliper. Fine paint particles travel through the air and can settle over a surprisingly large area. Concrete and painted workshop floors can both be difficult to clean once the overspray has dried.
A small piece of cardboard directly under the brake is not enough. Allow the plastic drop sheet to extend well beyond the side of the car and the area where you will be spraying.
It is an inexpensive step that can save a lot of frustration later.
Cover the Entire Car
The entire vehicle should also be protected with plastic sheeting.
It may seem excessive when only a small brake caliper is being painted, but overspray can travel across doors, guards, the bonnet, roof and even the opposite side of the car.
Once those fine paint particles settle onto the bodywork, the surface can feel rough and may need professional overspray removal, clay treatment or machine polishing.
Cover the whole vehicle and secure the plastic around the wheel opening with masking tape. The wider 44 mm tape is useful for holding the plastic in place, while the 24 mm tape is better for detailed masking around smaller areas.
Make sure the plastic is firmly secured and cannot blow onto the freshly painted caliper.
Spending additional time covering the vehicle is much easier than correcting overspray afterwards.
Cleaning Makes the Difference
Used brake calipers usually carry years of baked-on brake dust, road grime, grease and surface corrosion.
A quick wipe is unlikely to be enough.
Start with a heavy-duty cleaner or degreaser to loosen the worst contamination. Sandpaper, scourers and a small wire brush can then be used to remove loose paint, surface corrosion and rough sections.
Scourers are especially useful around curves, cast lettering and areas where sandpaper is difficult to use.
Have plenty of rags available and replace them as they become dirty. Reusing the same contaminated rag can simply spread grease and brake dust back over the area you have already cleaned.
Thinners may be useful for cleaning tools or suitable bare-metal areas, but they should be used carefully and kept away from rubber components, brake hoses, plastics and the vehicle’s paintwork.
Finish the preparation with brake cleaner and allow everything to dry fully.
The caliper does not need to be polished perfectly smooth, but it must be clean, dry and free from loose material. Paint applied over grease, dirt or flaking old paint is unlikely to last.
Masking Is More Important Than Spraying
Once the caliper is clean, everything that should not be painted needs to be carefully protected.
The brake rotor, pads, rubber boots, hoses, fittings, bleed nipples, sensor wiring and surrounding suspension parts should all be covered.
This is where having two tape widths becomes useful.
The 24 mm tape works well around smaller components and tighter shapes. The 44 mm tape is better for covering larger gaps and securing plastic or cardboard barriers.
Take your time and check the masking from several angles. Small gaps can allow paint into places that are difficult to clean later.
For most home freshen-ups, the calipers can remain fitted to the vehicle. This avoids unnecessary work with the hydraulic braking system while still allowing the visible sections to be improved.
Applying the Paint
Once the cleaning and masking are complete, the painting itself is relatively straightforward.
Read the instructions supplied with the chosen caliper paint, shake the can properly and apply several light coats rather than one heavy coat.
The first coat may look uneven, but the colour and coverage will build with each application. Heavy coats are more likely to run, sag or remain soft underneath.
Allow the recommended time between coats and avoid rushing the drying process.
When the masking is removed, inspect the area carefully before refitting the wheel. Make sure no paint has reached the rotor, brake-pad surfaces or other functional components.
Allow the paint to cure for the time recommended by the manufacturer before driving or creating significant brake heat.
A Worthwhile Weekend Freshen-Up
Caliper painting is one of those small jobs that can improve the appearance of the entire car.
Once the wheels are refitted, clean calipers can make the wheel area look newer, tidier and better maintained. The difference is particularly noticeable on vehicles with large wheels that expose much of the braking system.
The key is not complicated painting technique. It is preparation.
Clean the calipers thoroughly. Use enough rags, sandpaper and scourers. Cover the floor. Cover the entire vehicle. Use plenty of masking tape and protect everything that should remain paint-free.
Before beginning, visit club sponsor Auto One Morley for the caliper paint, heavy-duty cleaner, brake cleaner, thinners, rags, sandpaper, scourers, masking tape and plastic sheeting required for the job.
Let the team know what you are planning so they can help you choose suitable products and make sure you have enough supplies for all four corners.
Supporting a club sponsor also supports the businesses that continue to help the HSV Owners Club of WA and its members.
The spraying may only take a small part of the weekend. The preparation is what creates the result.
1/160 Russell Street, Morley, WA, 6062, Australia
12V Battery Systems 4WD Accessories Audio and Communication Automotive Globes Car Batteries Dashcams Driving Lights and Light Bars Reverse Cameras and Sensors Roof Racks & Platforms Seat Covers Vehicle Accessories Wiper Blades Local Delivery Service Paint Mixing Paint Mixing (incl Spray Cans)
Opening hours are
|
Monday |
08:00 AM - 05:30 PM |
|
Tuesday |
08:00 AM - 05:30 PM |
|
Wednesday |
08:00 AM - 05:30 PM |
|
Thursday |
08:00 AM - 07:00 PM |
|
Friday |
08:00 AM - 05:30 PM |
|
Saturday |
08:00 AM - 05:00 PM |
|
Sunday |
08:00 AM - 05:00 PM |
We have a passion for cars and all things automotive – we understand your love of cars too! We prioritise friendly and knowledgeable customer service, coupled with great prices and the biggest brands you know and trust. We have over 30 years of experience in Morley from high end Audio system + installation, to Rhino Rack and Motorsport, all the way through to servicing your car.
Come and visit our store today!
Fitting Services
- 12V Battery Systems
- 4WD Accessories
- Audio and Communication
- Automotive Globes
- Canopies
- Car Batteries
- Dashcams
- Driving Lights and Light Bars
- Dual Battery Systems
- Reverse Cameras and Sensors
- Roof Racks & Platforms
- Seat Covers
- Vehicle Accessories
- Wiper Blades
Other Services
- Local Delivery Service
- Paint Mixing
- Paint Mixing (incl Spray Cans)
Store Specialisations
- 4WD Accessories
- 4WD Suspension & Bull Bars
- Auto Accessories
- Automotive Lighting
- Batteries
- Battery Testing & Recycling
- Brakes & Clutches
- Car Audio
- Car Care Range
- Car Mats, Seat Covers & Car Covers
- Motorsport
- Oil & Filters
- Paint Mixing & Spray Cans
- Paint & Panel
- Performance Accessories
- Roof Rack Systems
- Specialised Tools
- Spare Parts including Engine & Brake Parts, Belts, Hoses and Gaskets
- Tools
- Trainer Parts & Accessories